She'd had a chance to watch a few of the girls make their items, so I was hoping that she'd know her way around the studio a little bit before she went up to start working with the glass. A mom worries, you know.
And she did fine.
To get a feel for the bar, and for working with hot stuff, you start off with a small blob of feeder-glass on the rod. You roll it on the frame, to get it symmetrical before adding the main amount of glass. And the artist handed out these gloves, just in case you got your hand too close to the heat. Anywhere the steel is discolored, that's where it's hot, hot, HOT. Don't touch that part.

It's really fascinating to see how the glass just drips and flows. It's like molasses that becomes thicker and thicker, quicker and quicker.

Here, she's just laid on the layer of glass that will take the color. You've gotta keep that glass spinning, but not too fast, or you can flick off bits like a dog shaking after coming out of the lake.

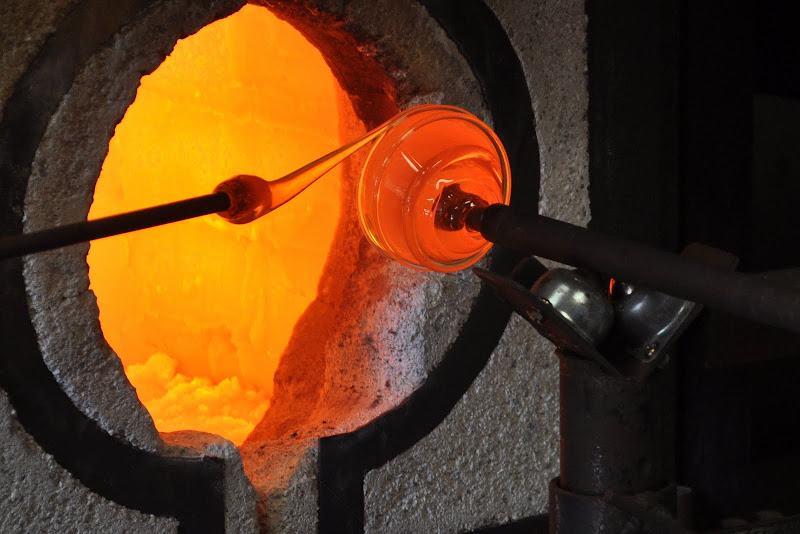
Here, she's laid on a layer of color, and is heating the glass again, so the color (just tiny chips of colored glass) can melt onto the base, and become as fluid as the base. While it heats (man, that furnace is HOT!) she keeps spinning the rod evenly, to keep the blob symmetrical.
Then the teacher says "Hey, I've got an idea"

For the color, he's going to lay on a stripe of a different colored glass.
And then, once it's hot again, swirl the colored stripes around with a metal hook.

Right about now, Kelly got a little distracted, and when she went to roll the metal rod, she touched it too close to the glass, and burned her first three fingers. Whoopsie. But she just bit her lip, and kept going. didn't want to ruin her project...
Once the blob was all swirly, and hot again, she dropped it into this cast iron mold, to make it all fluted.

Now, it's getting to be more pumpkin shaped, and so Kelly's job is to make the neck of the piece narrow. She uses a tool called 'jacks' (because they're jacks of all trades) to squeeze and pull while the glass is still hot, going back into the furnace when the glass gets too stiff to pull.

Closer up:

The end closest to us is where the top of the pumpkin will be. Where she's pinching will eventually be the bit that is the bottom.
While it's still hot, it's held aloft, so that the pumpkin can fall back on itself to make the divot at the base, and also so that the artist can poke in the 'top' of it, to make it a little bit more pumpkin-shaped.

Now it's pumpkin shaped, but it needs a little something...
Like a stem!

Stem applied. Kelly is spinning the pumpkin, and holding the wire that's coming in from the left.
While she holds the pumpkin still, and brings in the wire, Doug wraps the hot stem around the wire, to make a curly stem.

The final step is to put a tiny bit of water at the point where the piece will cleave from the metal rod. That makes the cleavage point brittle, so it will break cleanly.

We're crossing our fingers that it'll just pop off of the rod, into the bucket full of asbestos towels:

And then it was into the finishing oven for overnight cooling.
The finished pumpkin?

I'm very impressed, and now I want to go make some as Christmas presents.

No comments:
Post a Comment